How To Share Files Among Mac and PCsHow To Share Files Among Mac and PCs
Share files among PCs and Macs with the Windows Live Mesh 2011 free utility.

BYTE -- Sharing files among PCs and Macs is easier than you think. Here's how to download and use the Windows Live Mesh 2011 free utility to share folders and files among PCs and Macs.
First, use your PC to head to the Windows Live Mesh 2011 website and download the installer file.
This starts the installer.
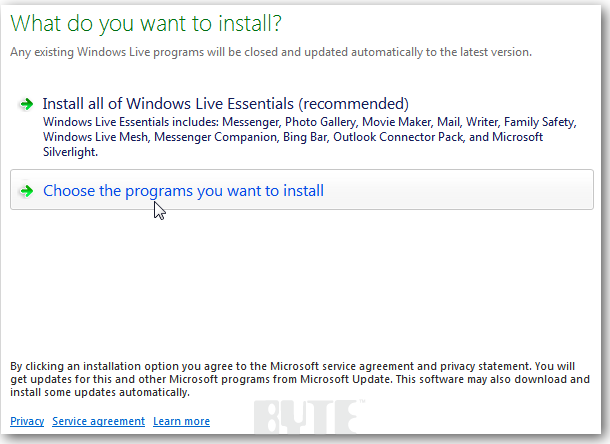
At the first screen, select the option to Choose the Programs You Want to Install. Hit Enter.
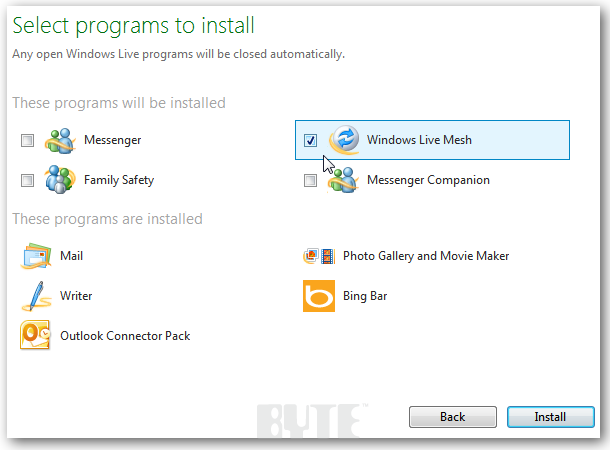
If you already have programs from Windows Live Essentials installed, you'll see them on screen. Check Windows Live Mesh. Click install.
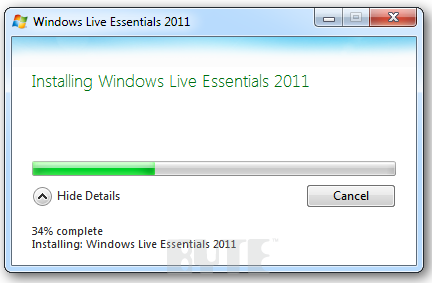
If you have certain Microsoft programs running -- an example is Outlook -- the system will prompt you to close them before continuing with the install. Then the process begins.
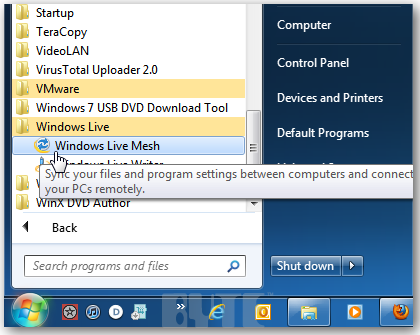
After you install Live Mesh 2011, you'll find it in the Start menu under All Programs >> Windows Live. Launch it from there.
Note: You must install Windows Live Mesh 2011 on each system that will be sharing and syncing files and folders with other systems.
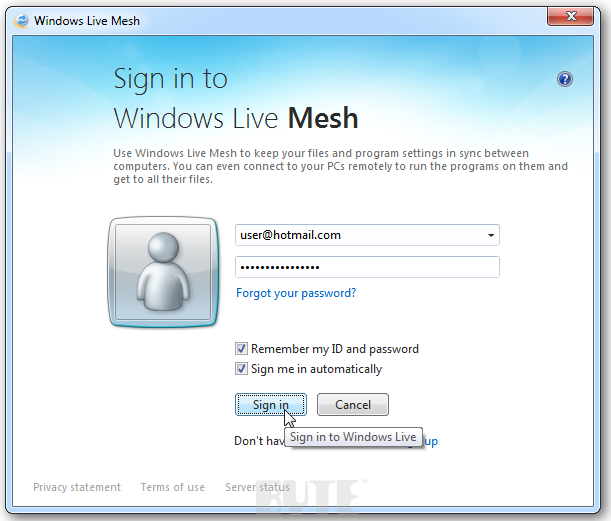
The first time you launch Live Mesh, either log into your Windows Live account or create one.
Now check both boxes so the system remembers your ID and passwords and signs you in automatically. This makes it easier to sync your files and folders later.
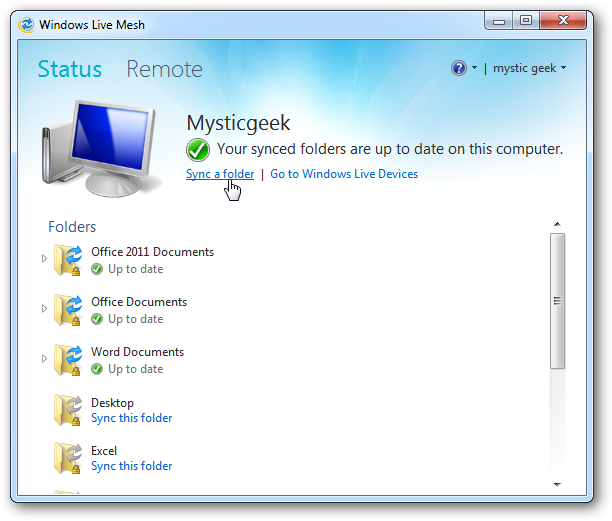
Now it's time to add the folders you want to share. Here, notice I've already added a few. To add a new folder, click Sync a Folder.
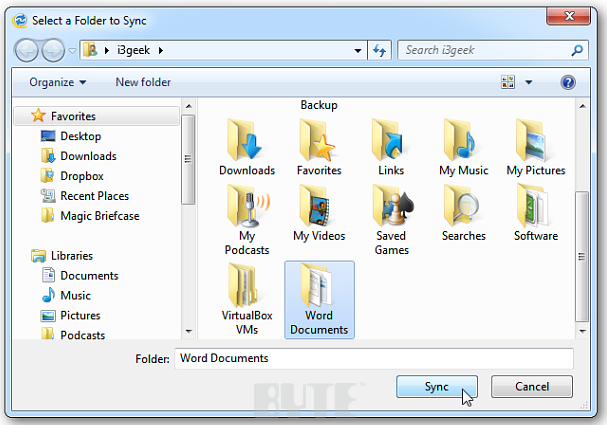
Then select the folder you want to sync with other computers. Click Sync.
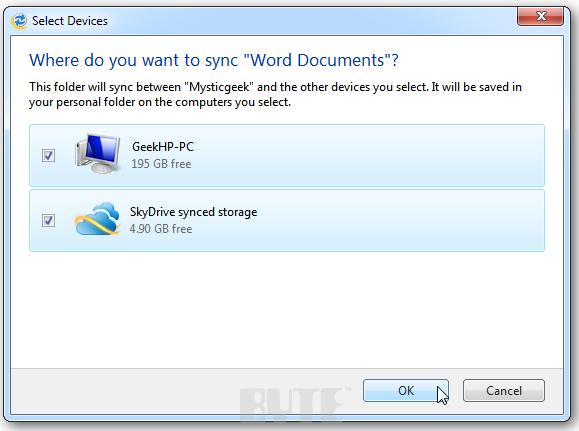
Select the devices where you want to sync the folder. Here I'm selecting SkyDrive Synced Storage cloud service and I and syncing it with my Windows 7 PC. Click OK.
The system will start syncing the folder I selected.
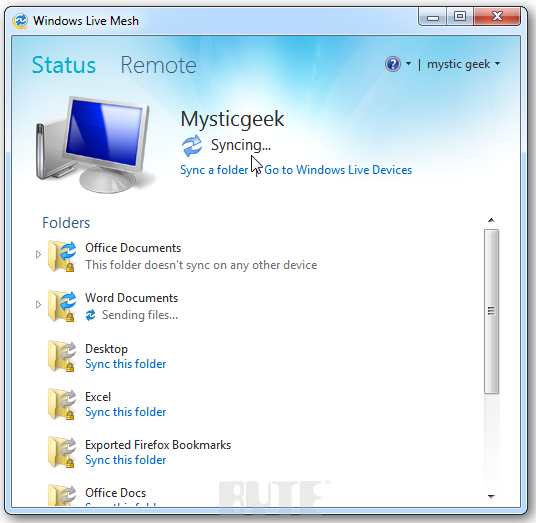
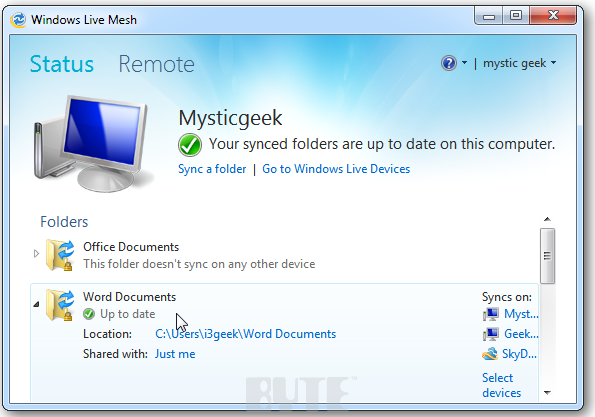
When syncing is complete, the system shows a green checkmark. You’ll get a message notifying you that your synced folders are up to date.
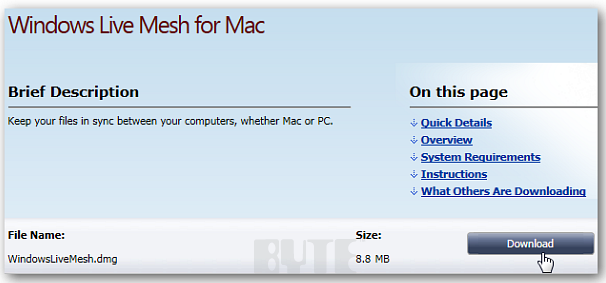
Now try syncing between your PC and Mac. On your Mac, launch Safari and download Windows Live Mesh for Mac
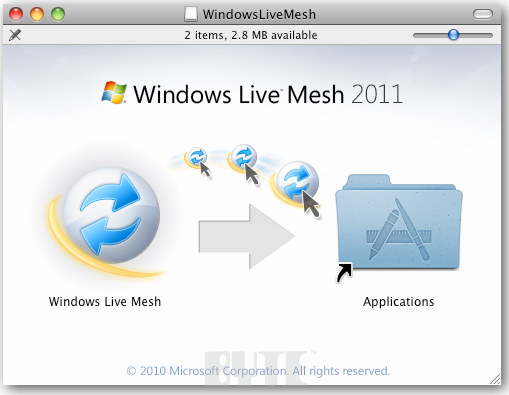
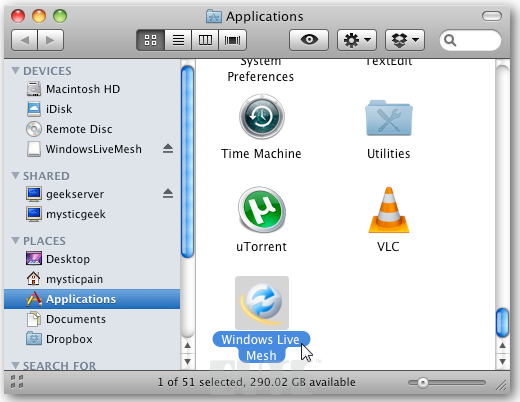
The installer starts immediately upon download. Drag the Windows Live Mesh icon to the Applications folder.
After that, go into your Applications folder and launch Windows Live Mesh.
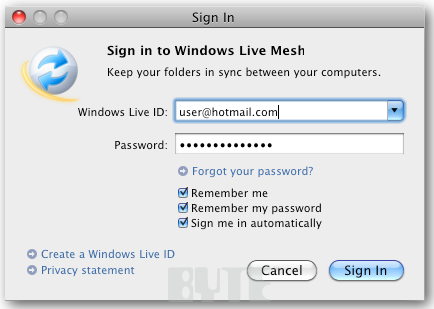
The first time you launch Live Mesh on the Mac, log into your Windows Live Account. Use the same one you used to sign in with on the Windows PC. Then, again, check the boxes remembering your ID and password to sign in automatically. This makes it easier to sync your files and folders.
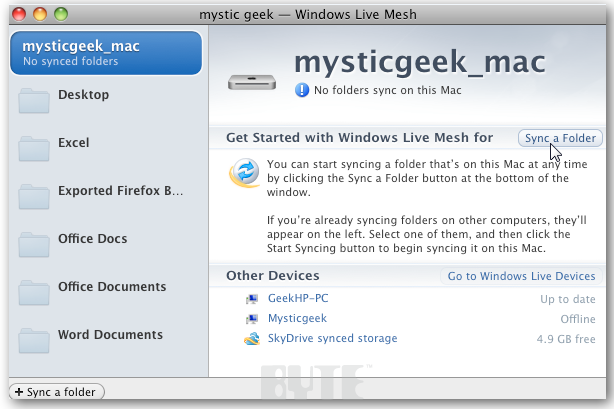
After sign in, the system will display the folders you shared on the Windows PC. To start syncing a folder from the Mac, click on Sync a Folder.
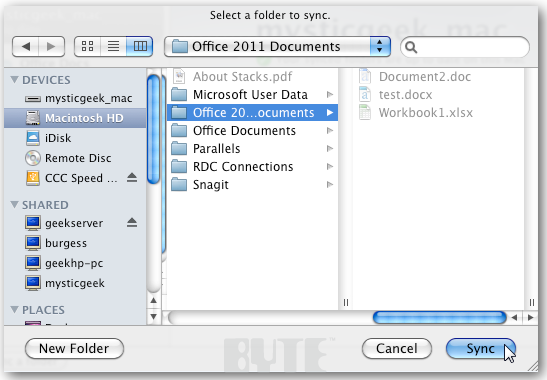
Browse to the Mac folder you want to sync up to the Windows PC.
After you select the folder, choose the Windows machine you want to sync to. You also are able to sync up to your SkyDrive for cloud storage. Click OK.
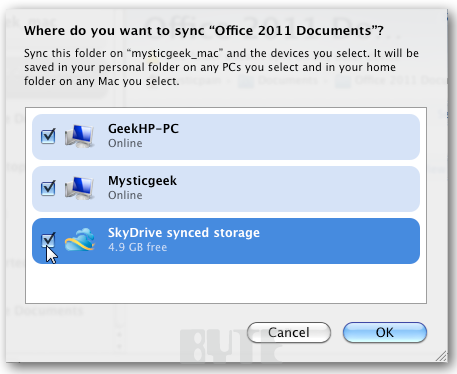
At first, none of the Windows folders will show up as synced to the Mac. So start the process. Click on the folder you want. Click the button to Start Syncing.
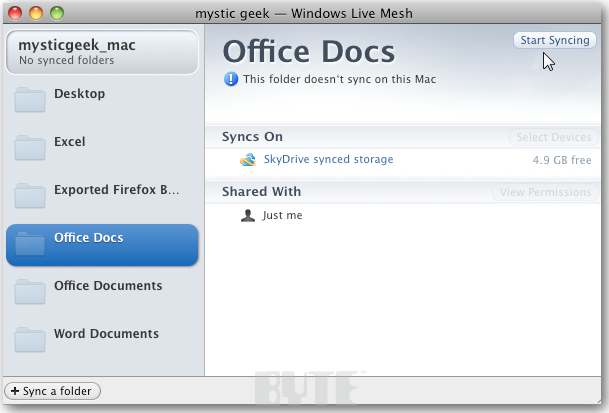
Click Sync again if you want to sync to the home folder on the Mac. Or, if you want it to sync to a different directory, you can do that too.

Then the sync process will start.
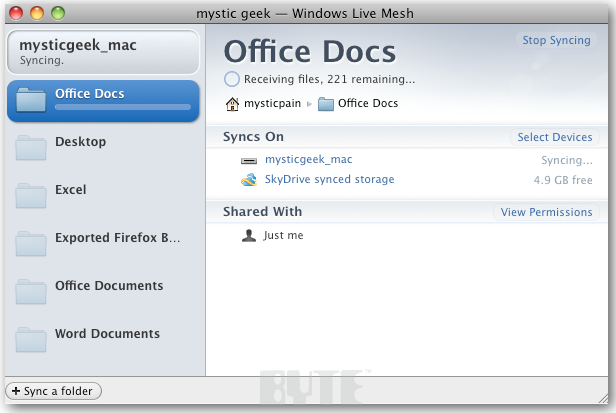
When all of the folders are synced up between machines, you'll see the message that everything updated successfully.
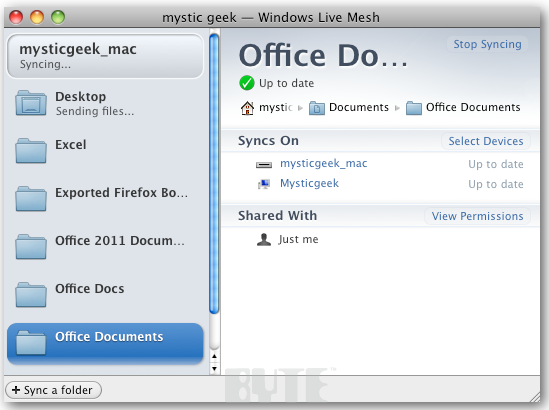
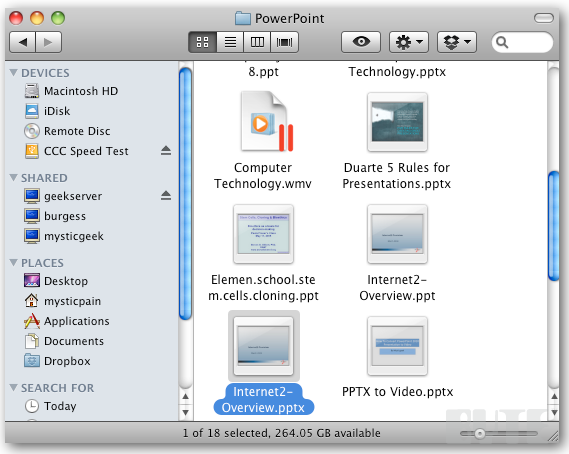
Now you'll find the synced folders from your Windows computer in the home folder on your Mac.
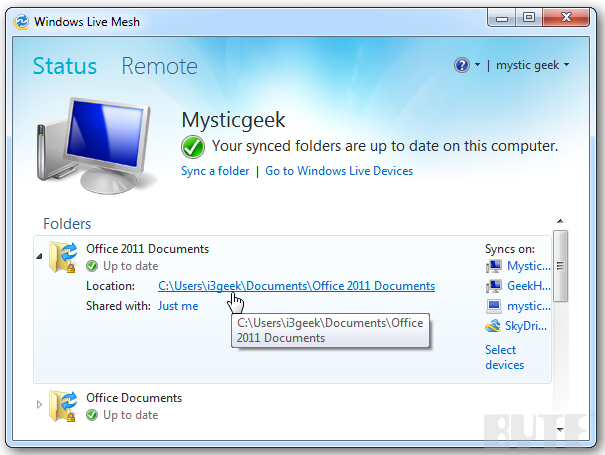
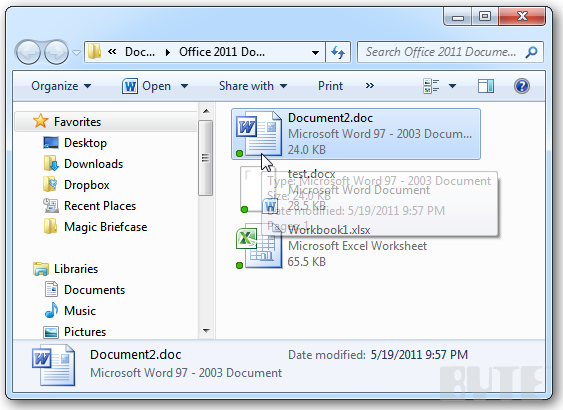
Back on the Windows computers you are syncing with, you can see the directory where the shared Mac files are located. Click on the Location link to open the folder to view them.
If you have a mixed network environment at home or the office, Windows Live Mesh 2011 is a great way to share and sync folders among them.
Brian Burgess is executive editor at BYTE. Follow him @mysticgeek. Got a comment or idea? Send it to him at [email protected].
About the Author
You May Also Like


